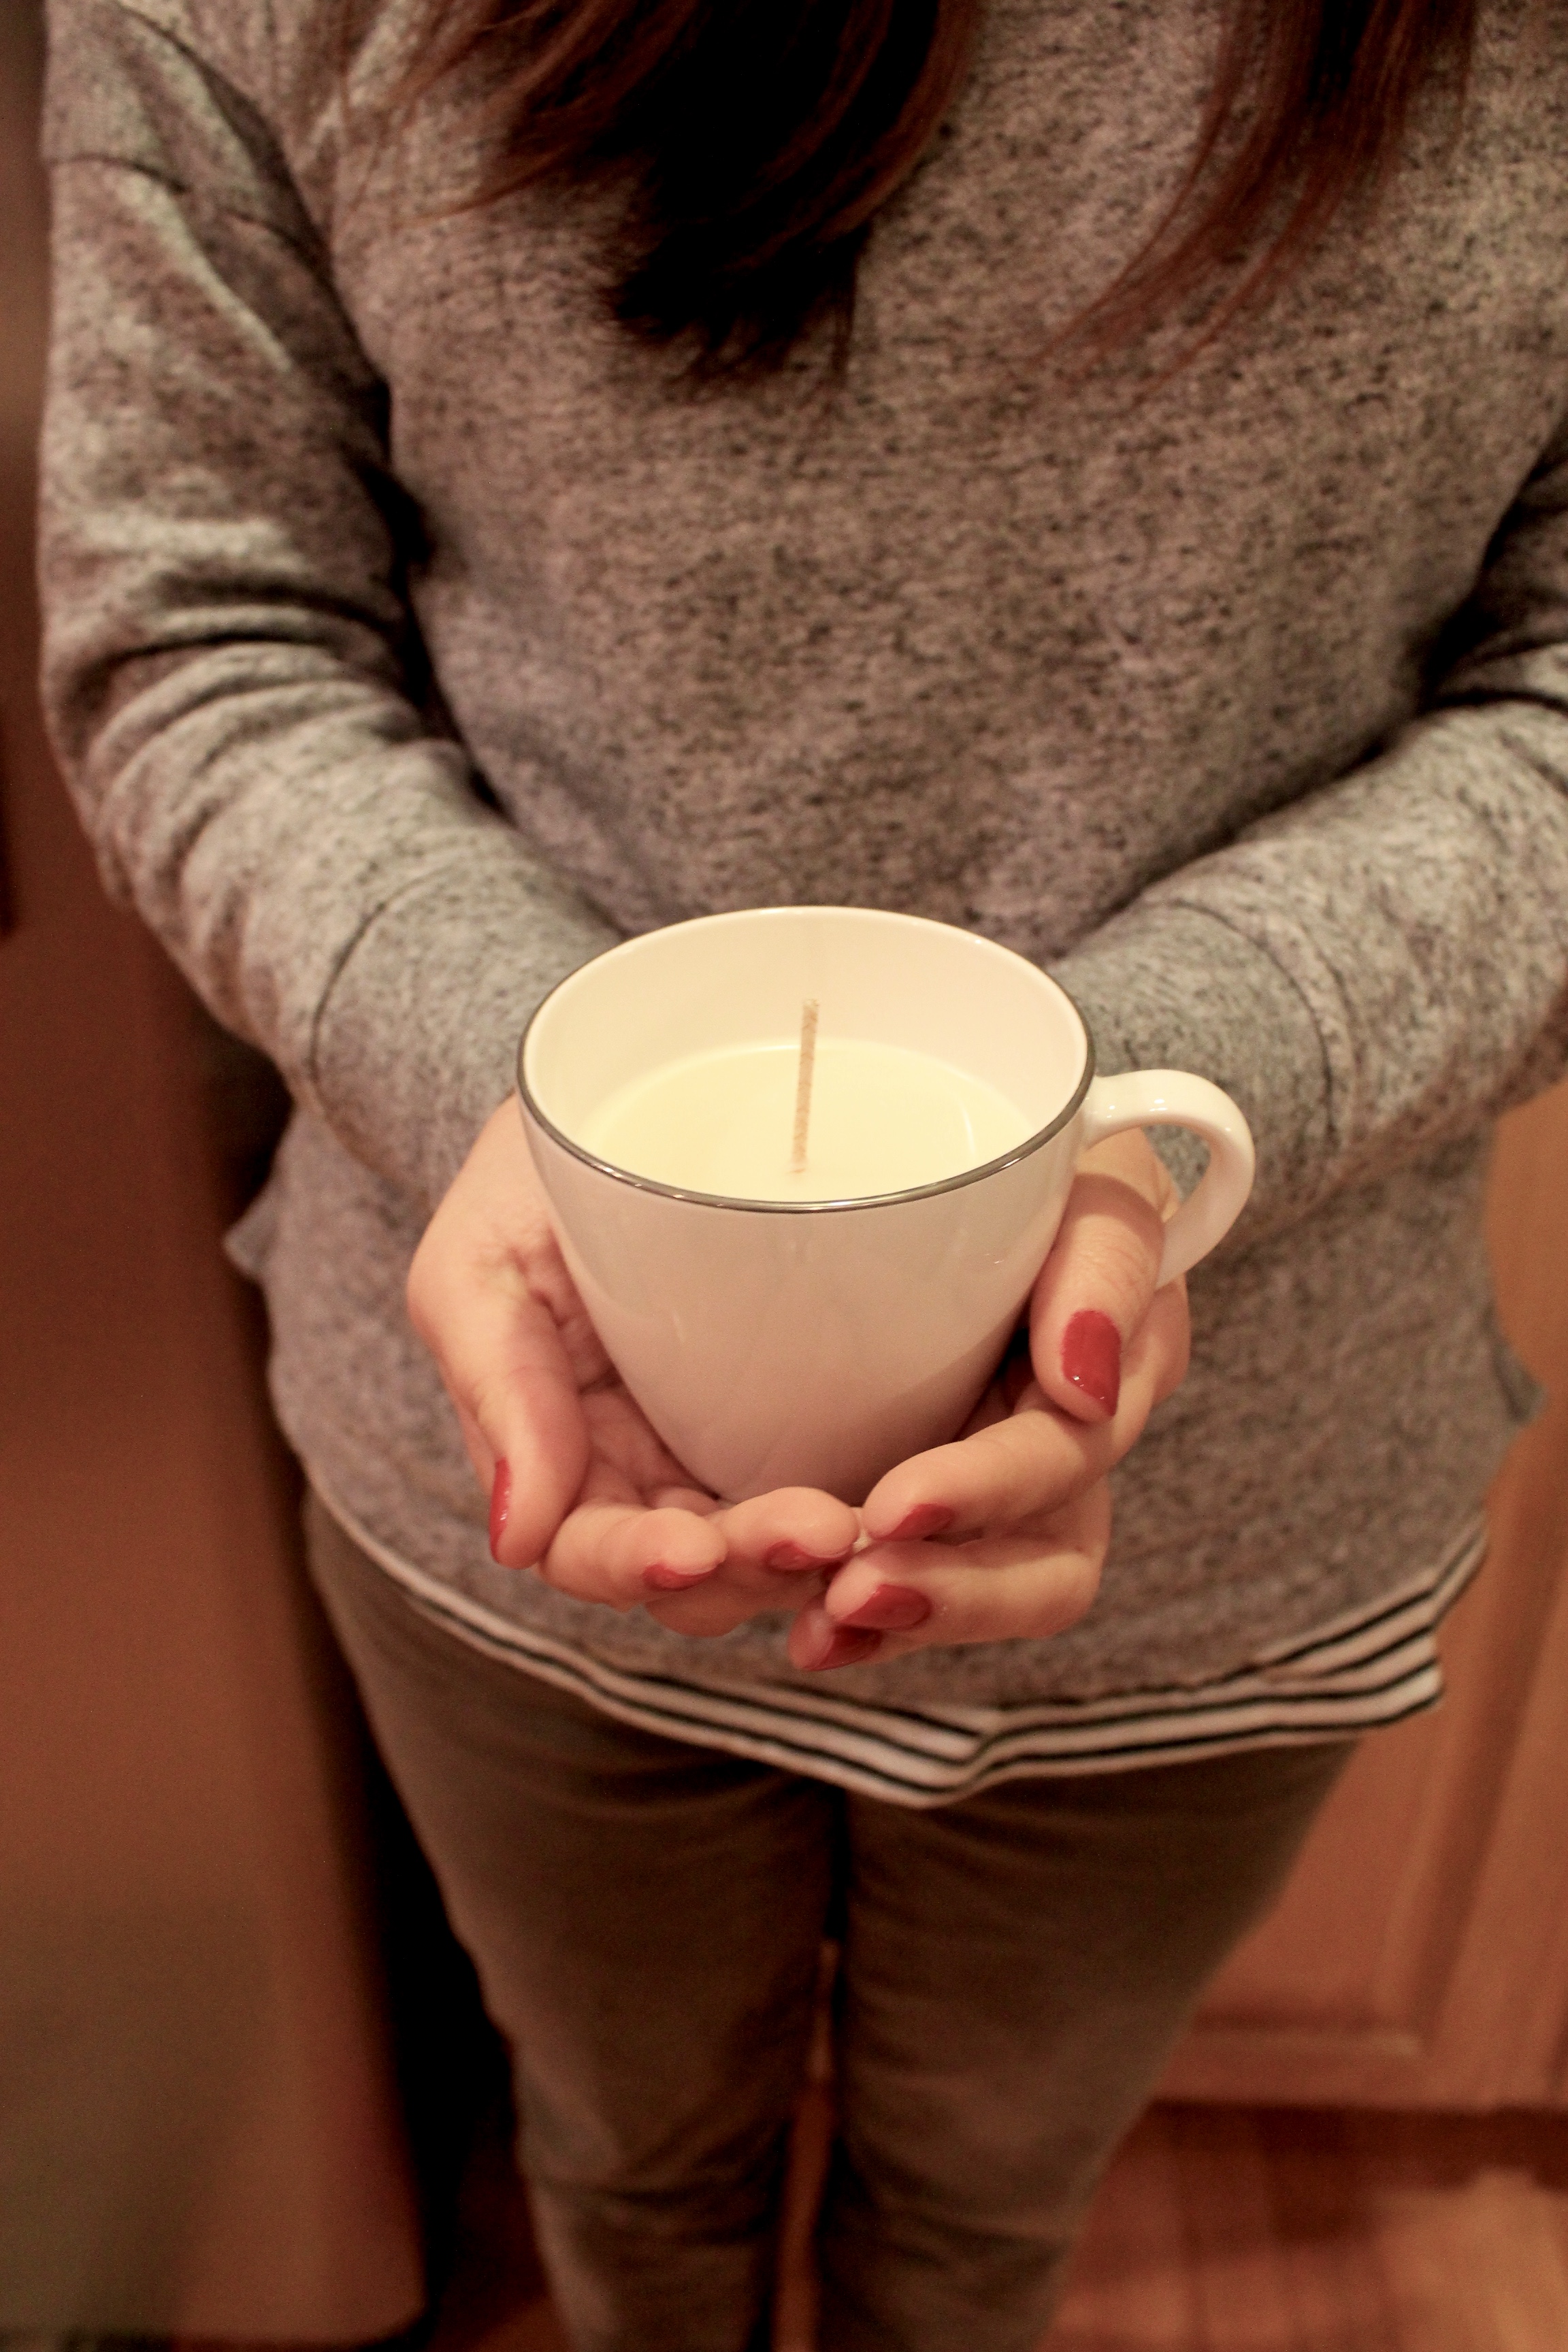
DIY: Teacup Candles
I am foreseeing a lot of DIY in the very near future, so I thought it would be a good time to finally upload photos of a DIY project I did in… January. Yes, I know I am two months behind (and yes, I know that I still have not posted photos of Yosemite. Whatever.)
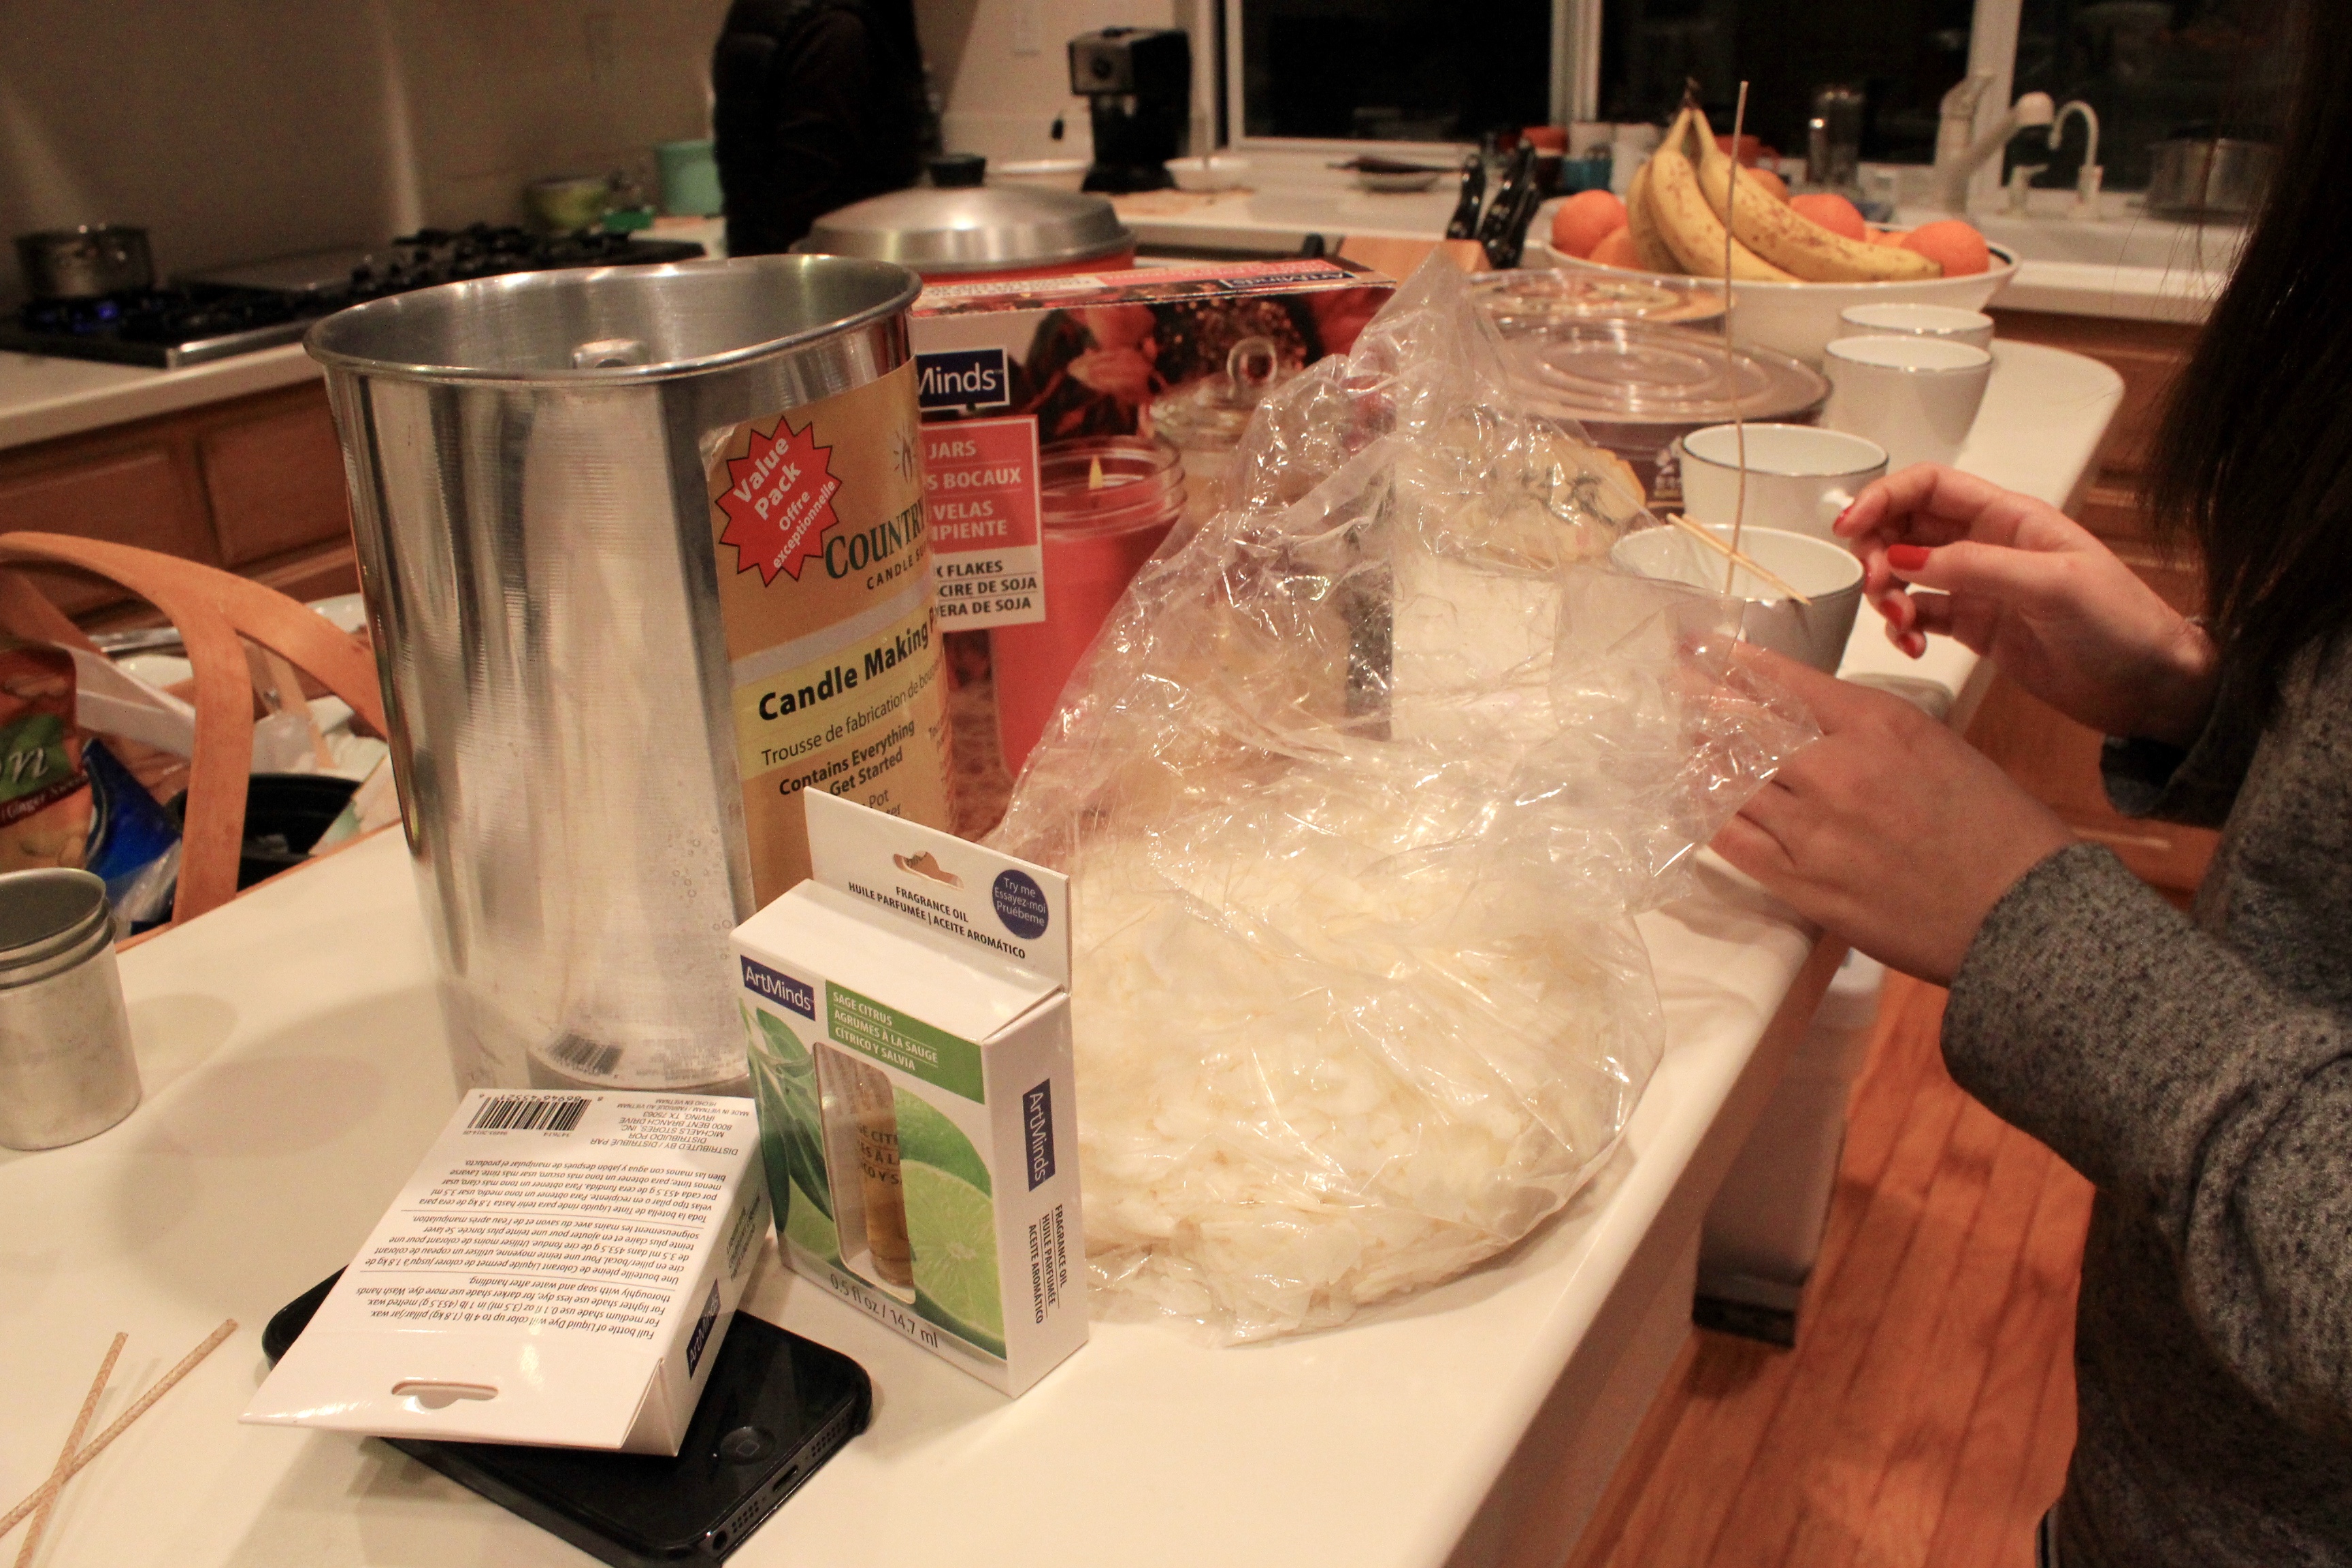
I saw this idea for making DIY candles in pretty vintage teacups on a blog and thought it seemed easy enough – and luckily, Justine already had a cool boiler thing so all we needed to do was get… everything else! Haha. It was really easy to buy the candle wax, the wicks, and the scent (thank you, Michaels) – but it was harder to find the vintage teacups. I thought I would be able to find them at Goodwill, but there weren’t any cute ones. I guess I would need to go to a more vintage thrift store to find the ones I was thinking of, but there wasn’t enough time to find a thrift store that I could go to before I had to make the candles.
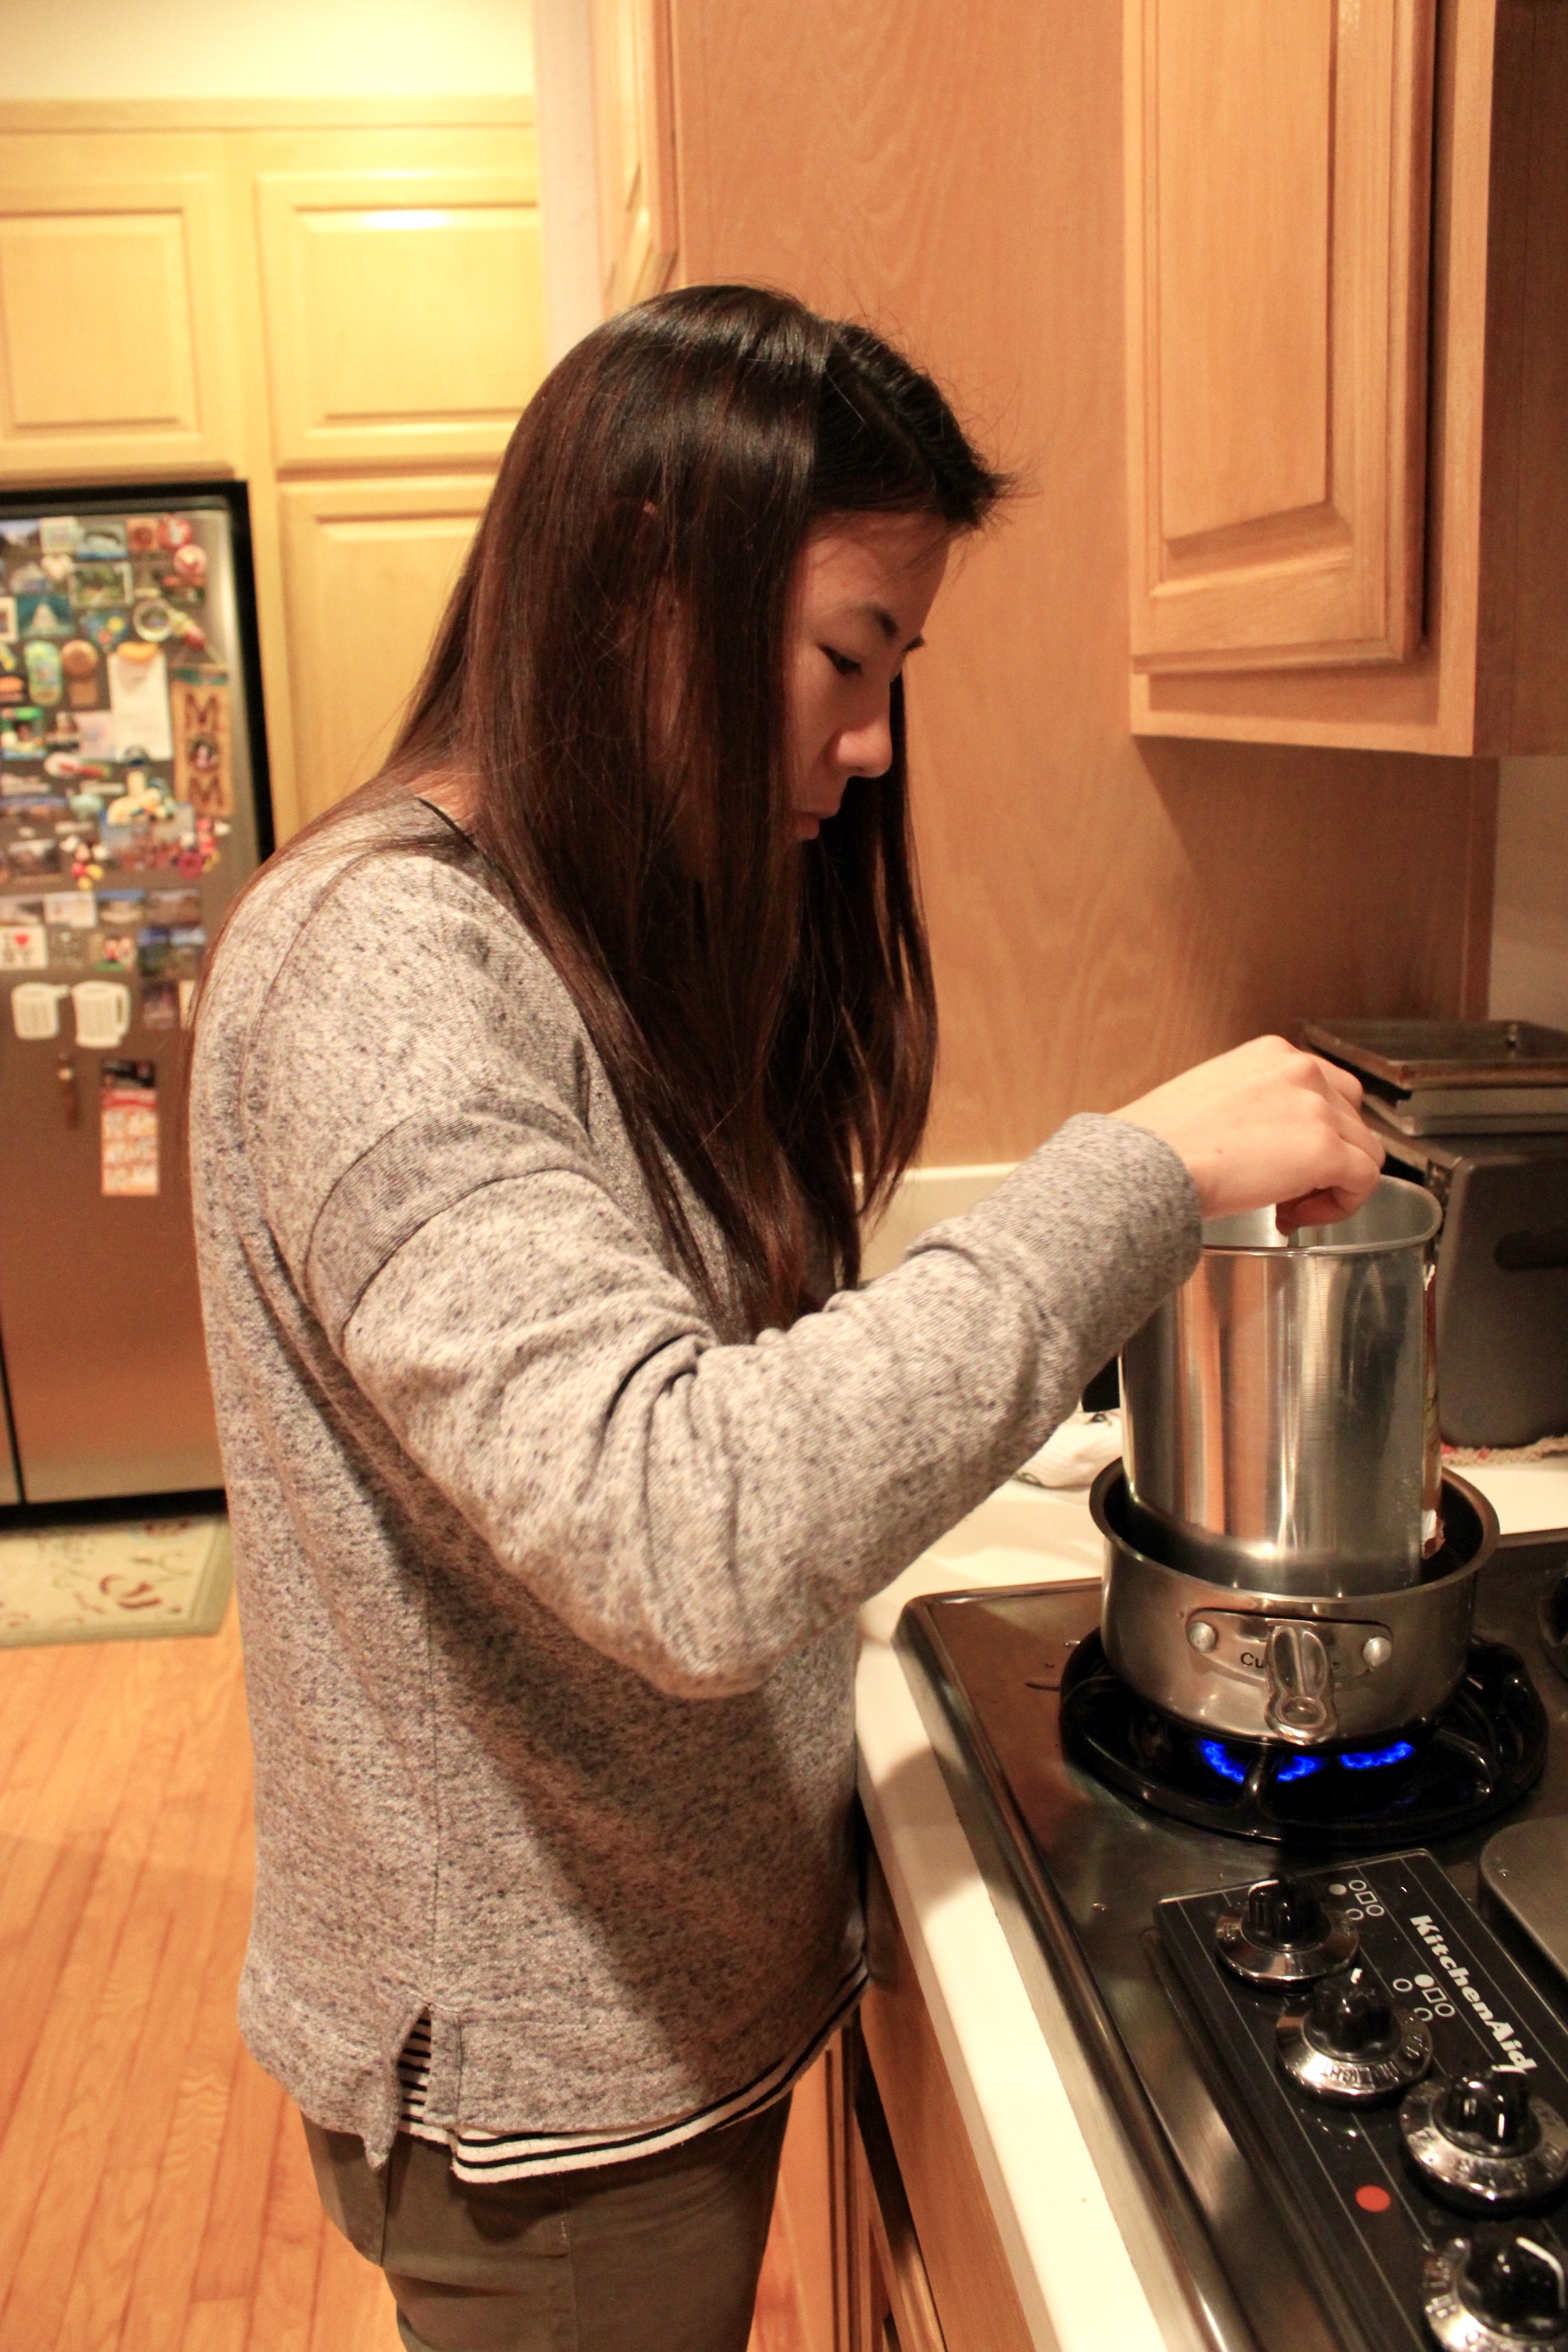
It didn’t actually take that long to make the candles – we poured the candle wax chips (better than having to cut up a block of wax!) into the boiler, then stirred it until it melted and got to a certain temperature (blanking on the temperature right now) so that we could pour in the scent.
Justine did a lot while I just took photos.
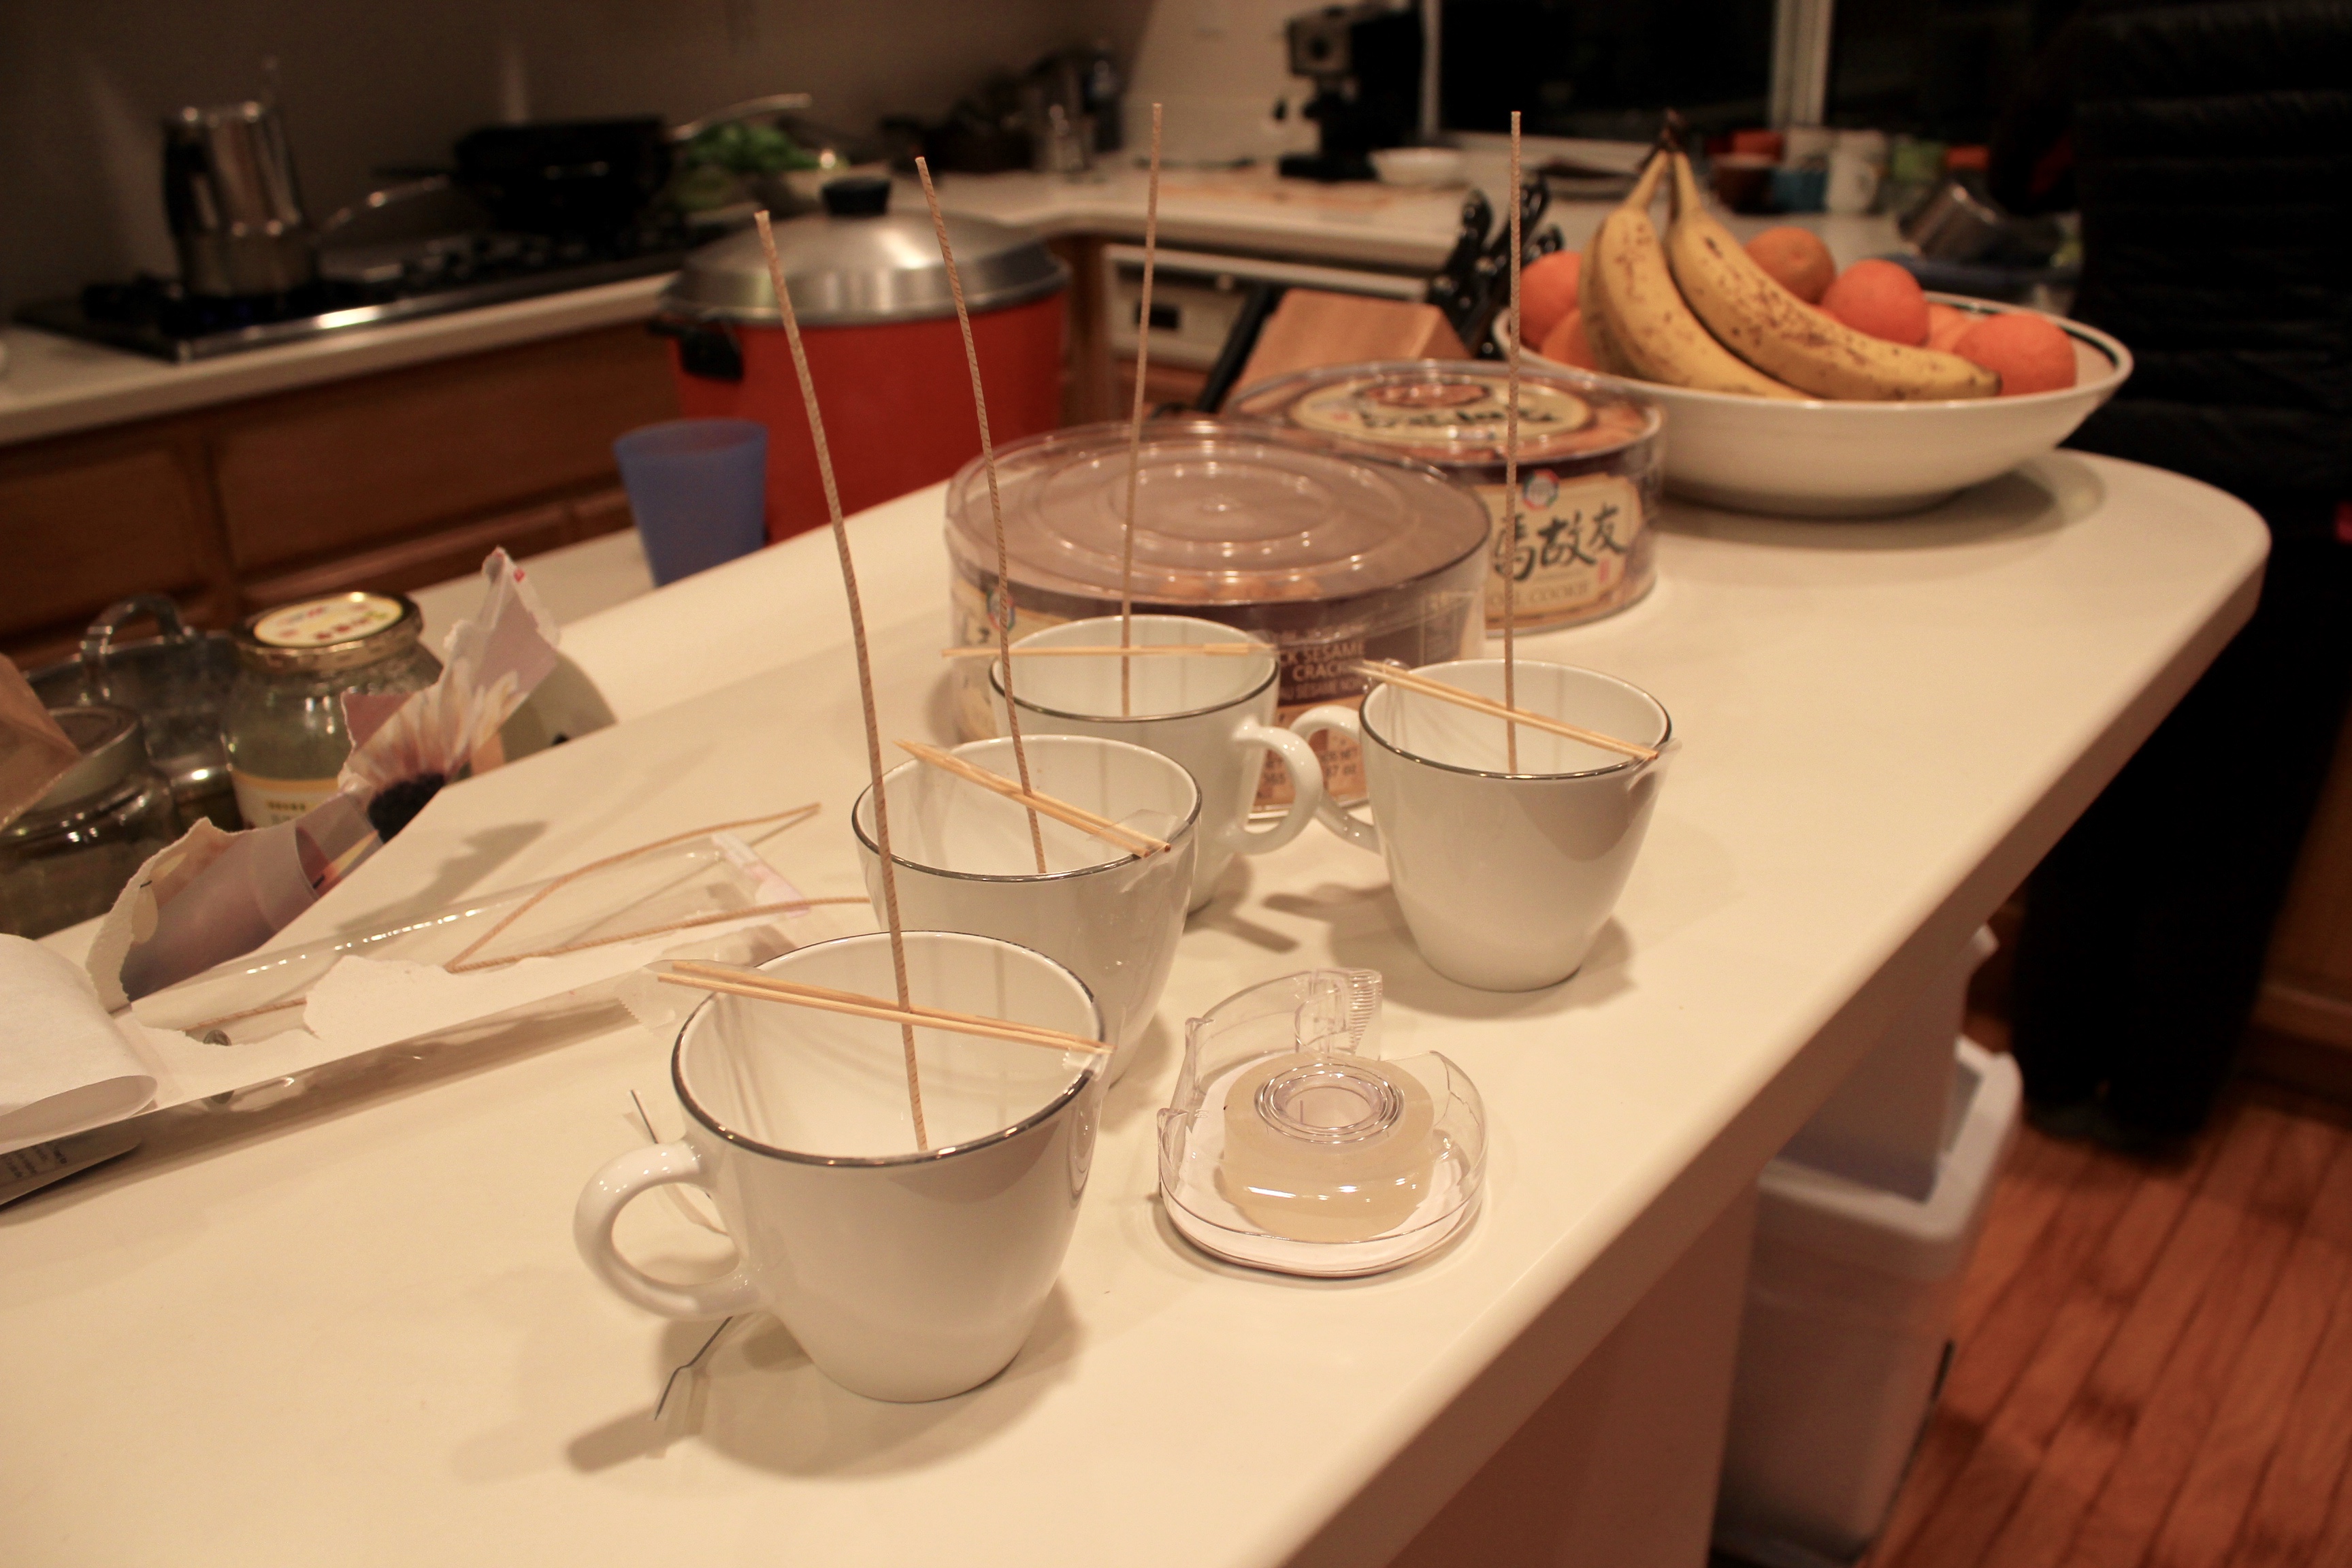
The hardest part was actually setting up the wicks – we had to make sure that the wick bottom was flat against the bottom of the cup, and make the wick stand up straight so that as the candle burned down, the wick wouldn’t be off center…
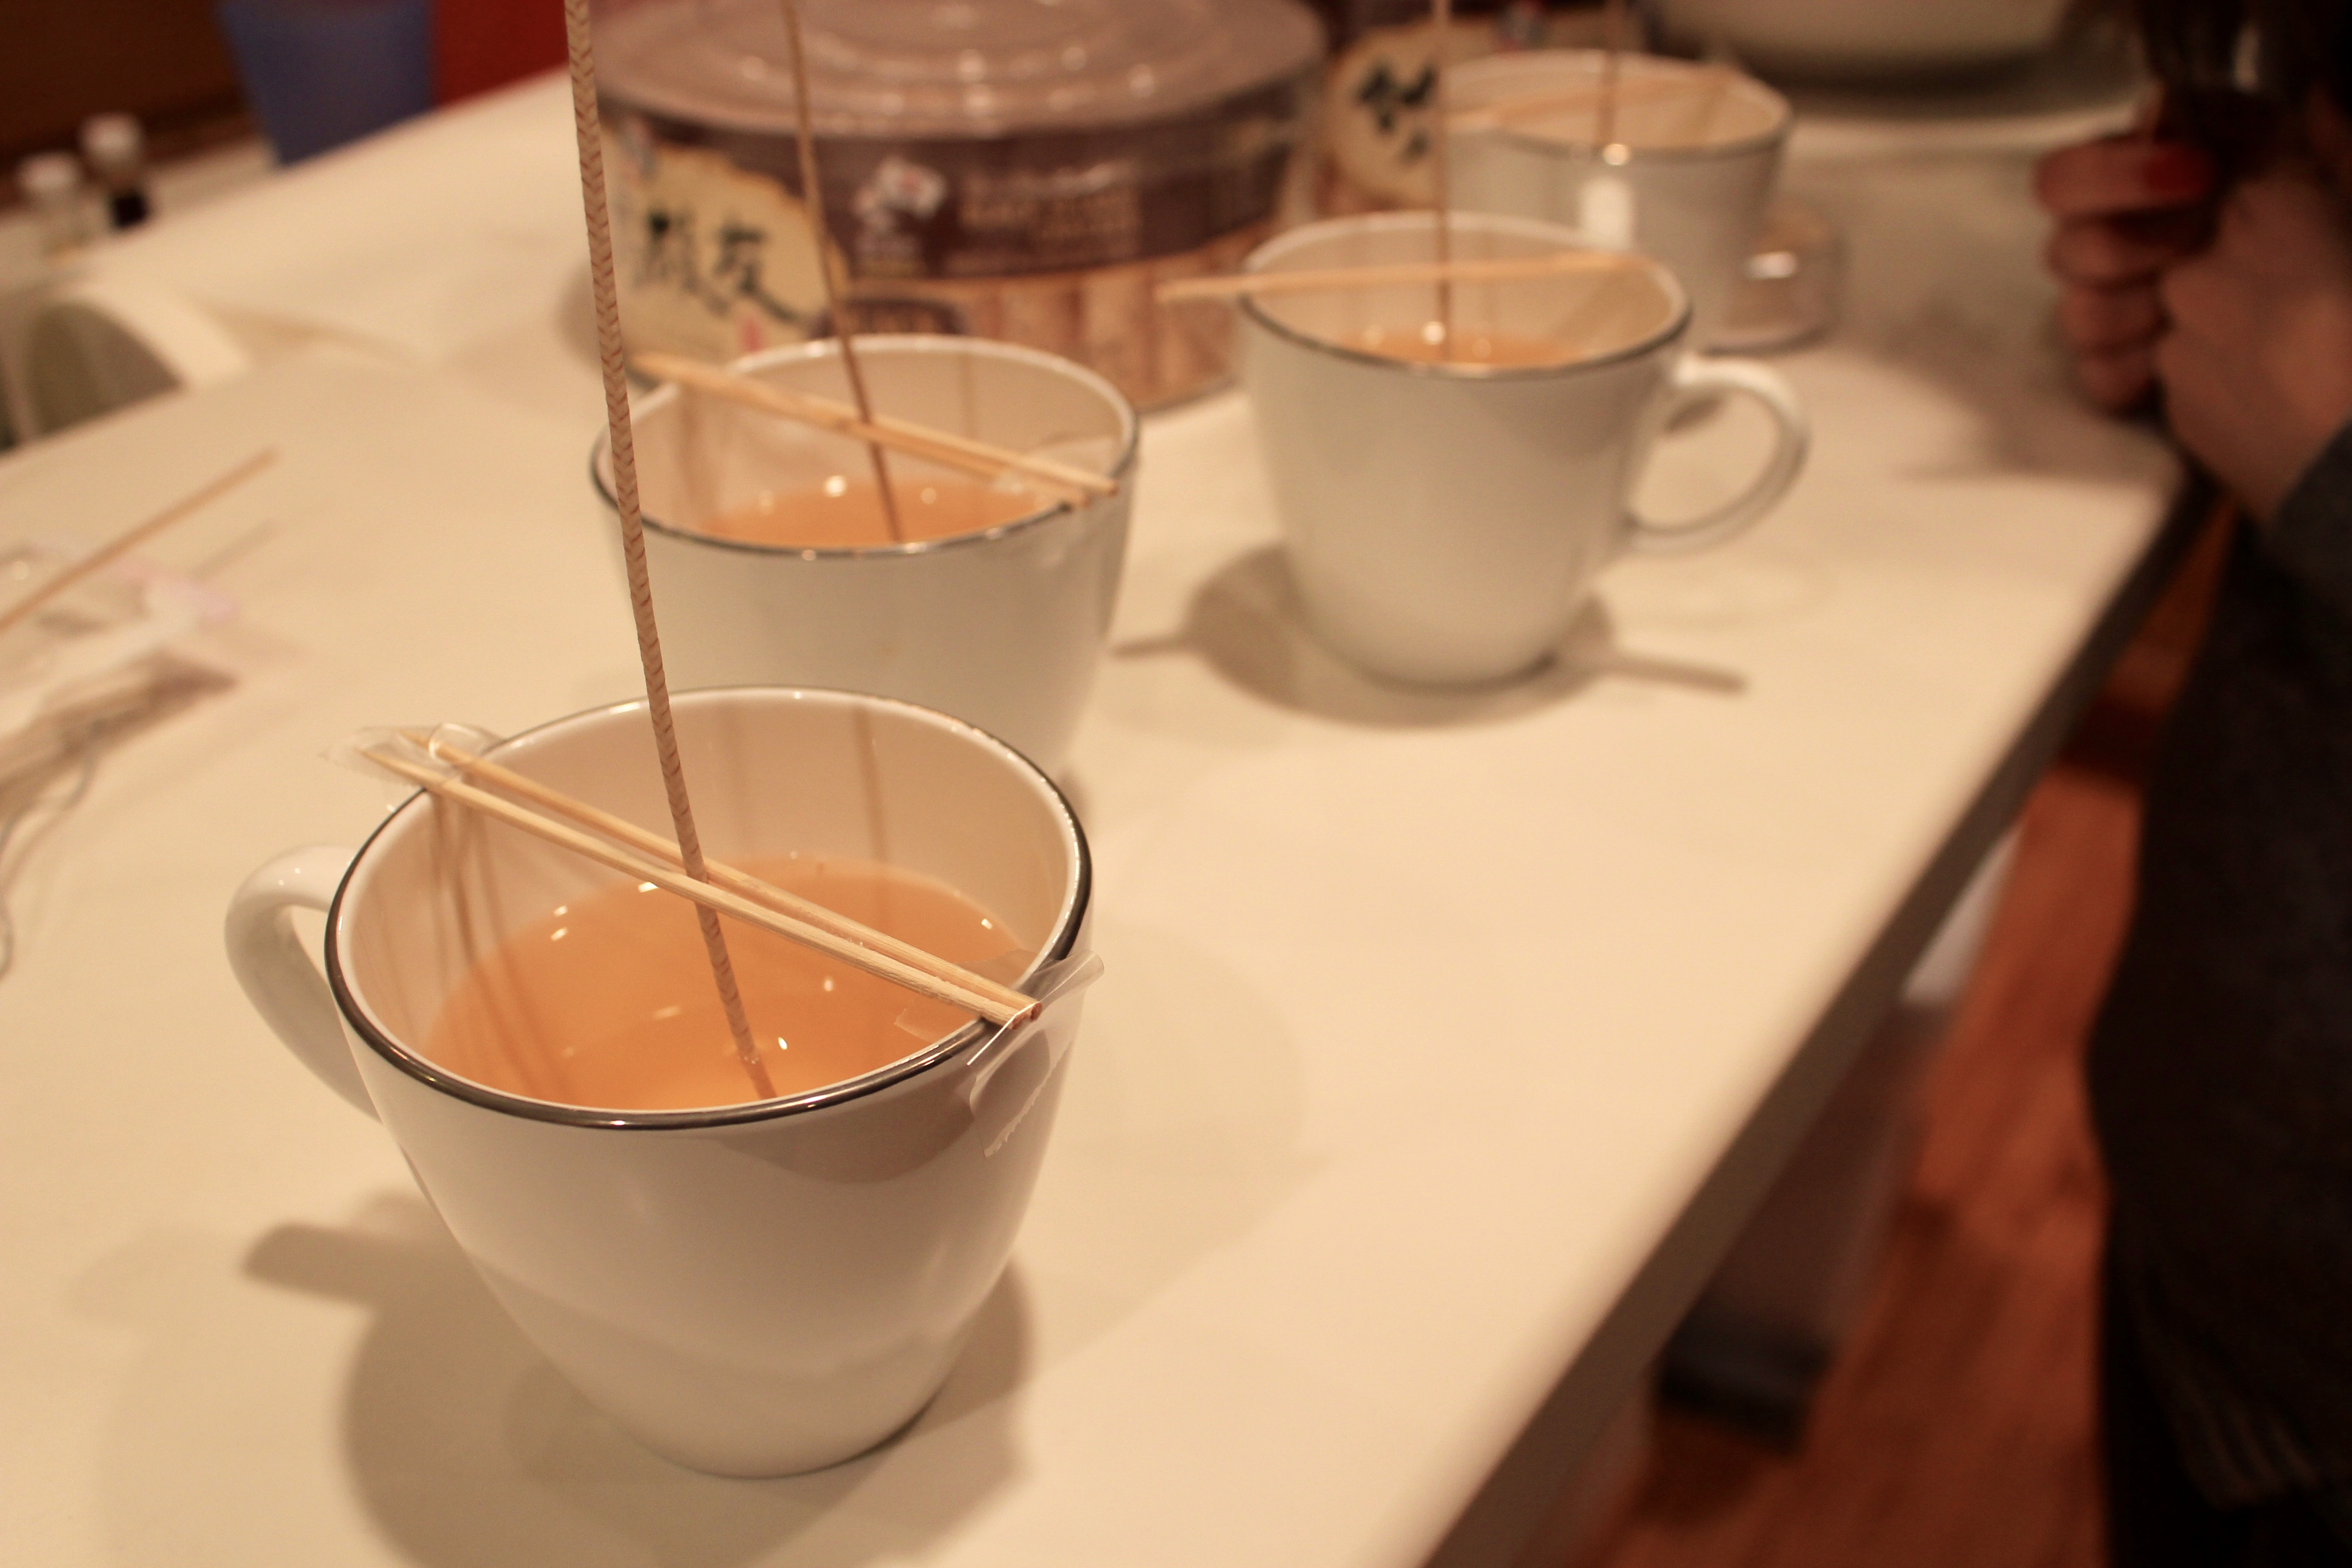
It was nice that we used the cool pitcher double boiler thing that Justine had, because it made the wax pouring step a lot easier. There were a few drips here and there but we kept a paper towel close by to wipe things up as we went. When the wax was all poured, it looked a lot like tea! That really amused me. All in all, the whole process probably only took around 30 minutes, and then we let the candles sit over night. Even within the first hour after we poured the wax, you could see the wax getting cloudier and cloudier and looking more and more white. It was really cool. I think next time, I would want to experiment with colored wax (we picked an ivory to go with the tea cups)
Special thanks to Justine for always being my partner-in-crime in random DIY projects, whether they fail or not.
